

The Quick Rundown
Layout is a sales tool: prospects decide within minutes of walking in, mostly on what they see and feel, so the floor has to sell before your staff get a word in.
Lead with your best: put clean, eye-catching equipment in the sightline from the entrance, and keep loud or crowded areas away from the first-contact zone.
Zone by activity: group cardio, strength, free weights, functional training, and recovery so members find what they need without wandering.
Flow beats density: a looped, one-way circulation path with no dead ends or midfloor crossings matters more than squeezing in extra machines.
Mind the clearances: keep at least 3 feet between equipment and 3 to 4 feet for walkways, and plan capacity around peak concurrent users rather than total membership.
Atmosphere converts and retains: lighting, flooring, sound, and clean air shape both the tour and the daily experience that drives renewals.
Your gym floor layout is doing sales work whether you plan for it or not. It shapes the first impression a prospect forms on a tour. It decides whether members can finish a workout without queuing, and whether they come back the next month. Most layout guides treat the floor as a packing problem and ask how much equipment fits in the room. That is the wrong question. The one that matters is how the space should make people feel and move, because that is what turns a walk-in into a member and a member into a regular.
This guide treats your gym floor layout as a conversion tool. You will see how to design a first impression that sells before staff say a word, how to zone and route the floor so it almost runs itself, the clearance and capacity numbers that keep it safe and comfortable, and the common mistakes that cost you sign-ups and renewals. The principles hold whether you run a 1,500-square-foot studio or a full commercial club.
What Converts Means for a Gym Floor
Conversion in a gym happens in 3 stages, and your layout influences all of them. The first is the tour, when a prospect decides whether to join. The second is the join itself, the moment the space feels worth paying for. The third, and the one most owners forget, is retention, where the floor either supports a repeatable workout habit or frustrates it into a cancellation.
A floor plan that converts works at every stage. It opens with a first impression strong enough to close a sale and guides a tour that builds desire, then keeps working day after day so members come back. Design only for the tour and you win sign-ups you cannot keep. Design only for operations and your tours fall flat. The layout has to do both at once, which is why it deserves more thought than an equipment shopping list.
The First Impression Sells Before You Say a Word
First-time visitors make up their minds within minutes, and they do it largely on what they sense rather than what they are told. Cleanliness, the smell of the air, the energy on the floor, and the look of the equipment all register before a salesperson finishes a sentence. Your layout controls most of that, so treat the entrance and the view from it as your most valuable space.
Start with the sightline from the front door. Whatever a prospect sees first should be your strongest asset: clean, striking equipment in an organized, open zone, with members training and the room feeling alive. An empty-looking floor signals a problem to a prospect, so where you can, design the entry view to capture natural activity. Keep the loudest areas, such as heavy free weights and dropped plates, out of that first-contact zone, where the noise can put off a nervous beginner who is still deciding.
Make reception welcoming rather than a barrier. A desk that blocks the path, or a layout that leaves a prospect standing alone with a pricing sheet, kills momentum. What you want is a warm, open arrival point that flows straight onto the floor for a tour. Add visible social proof near the entrance, such as a results board or member photos, and keep the locker rooms and restrooms spotless, since those senses-first details decide whether a visitor trusts you with their membership.
Zone the Floor With Intent
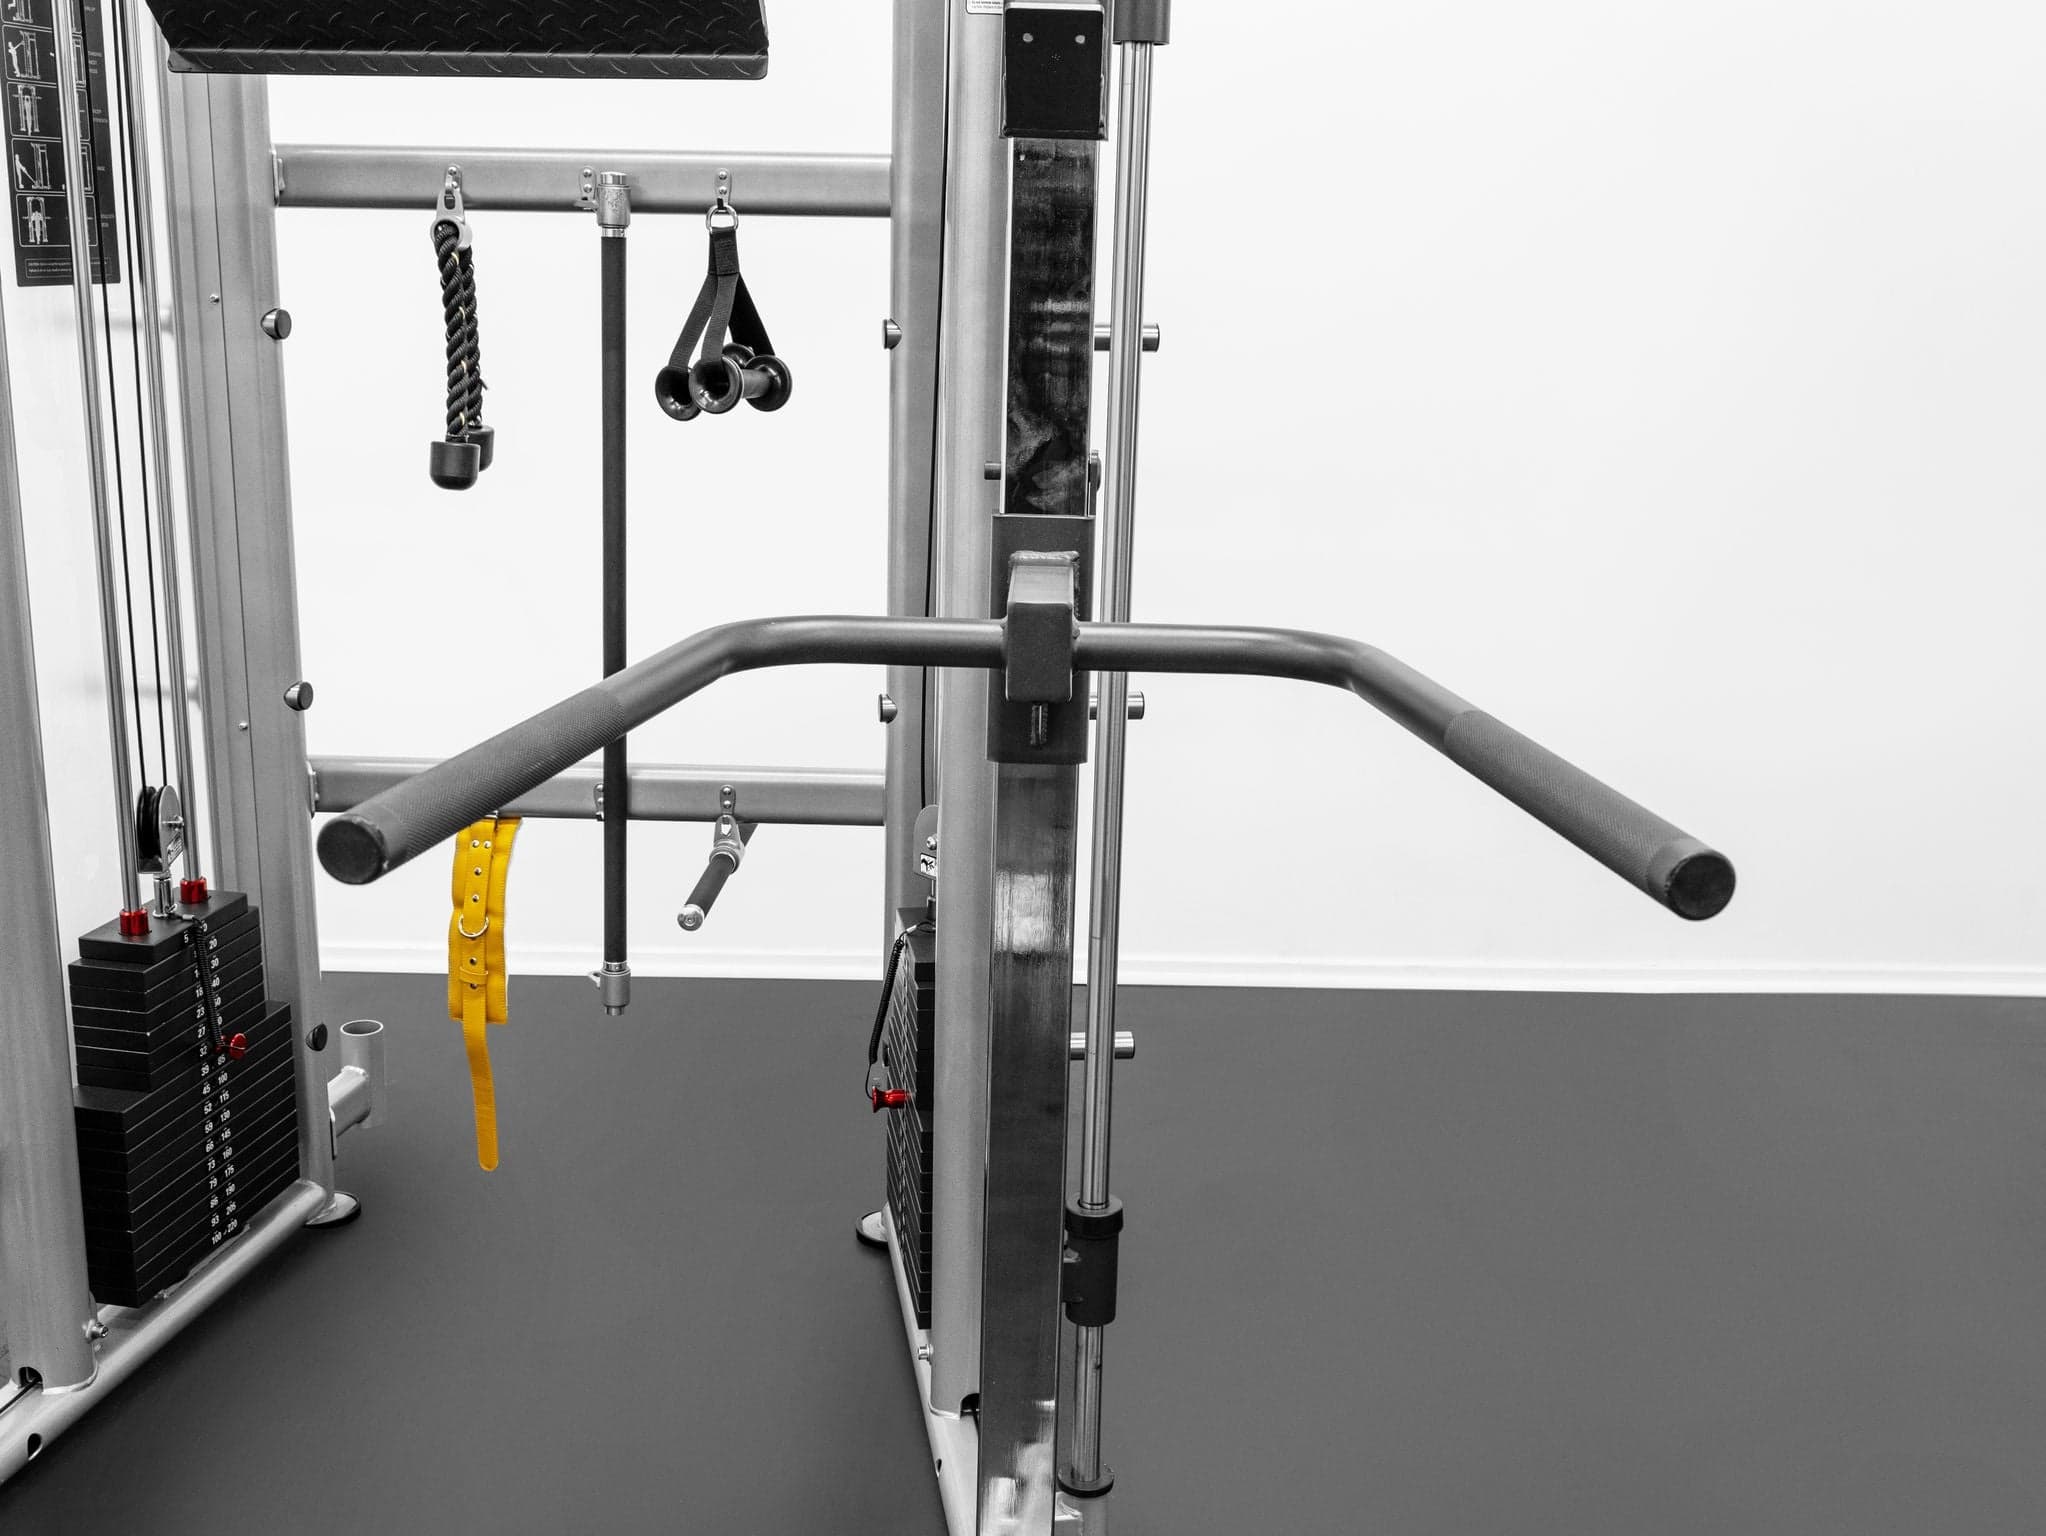
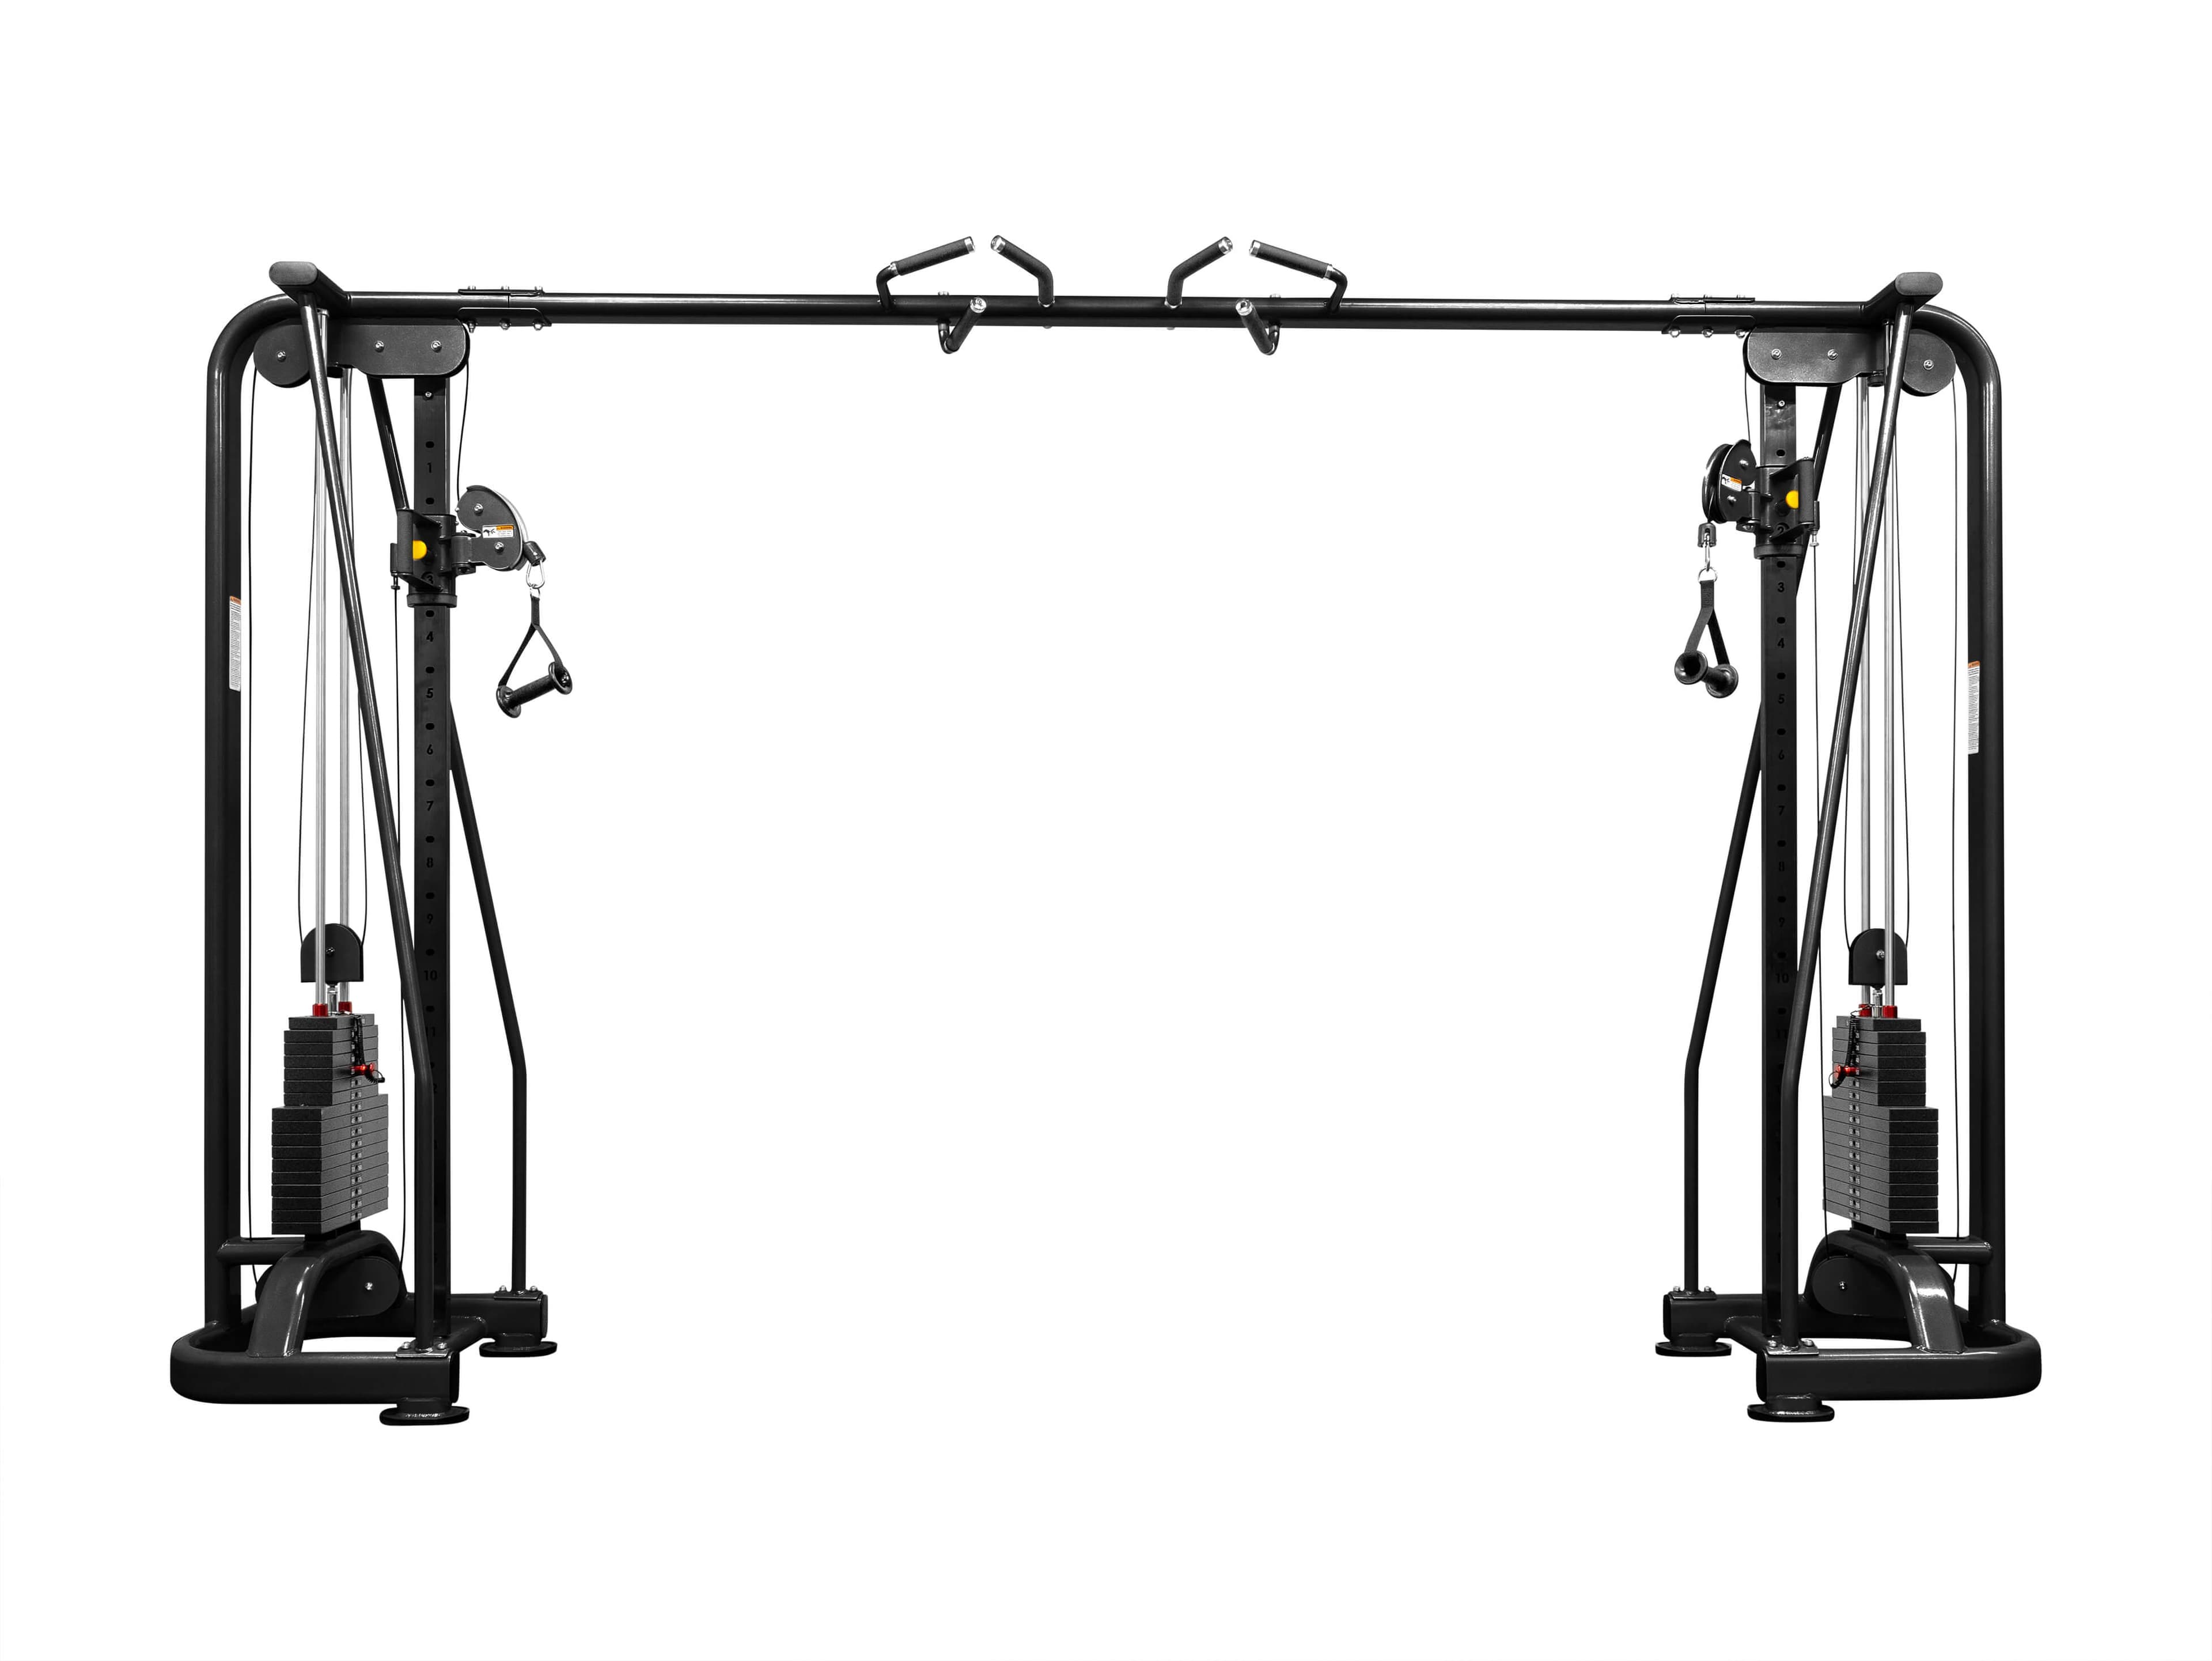
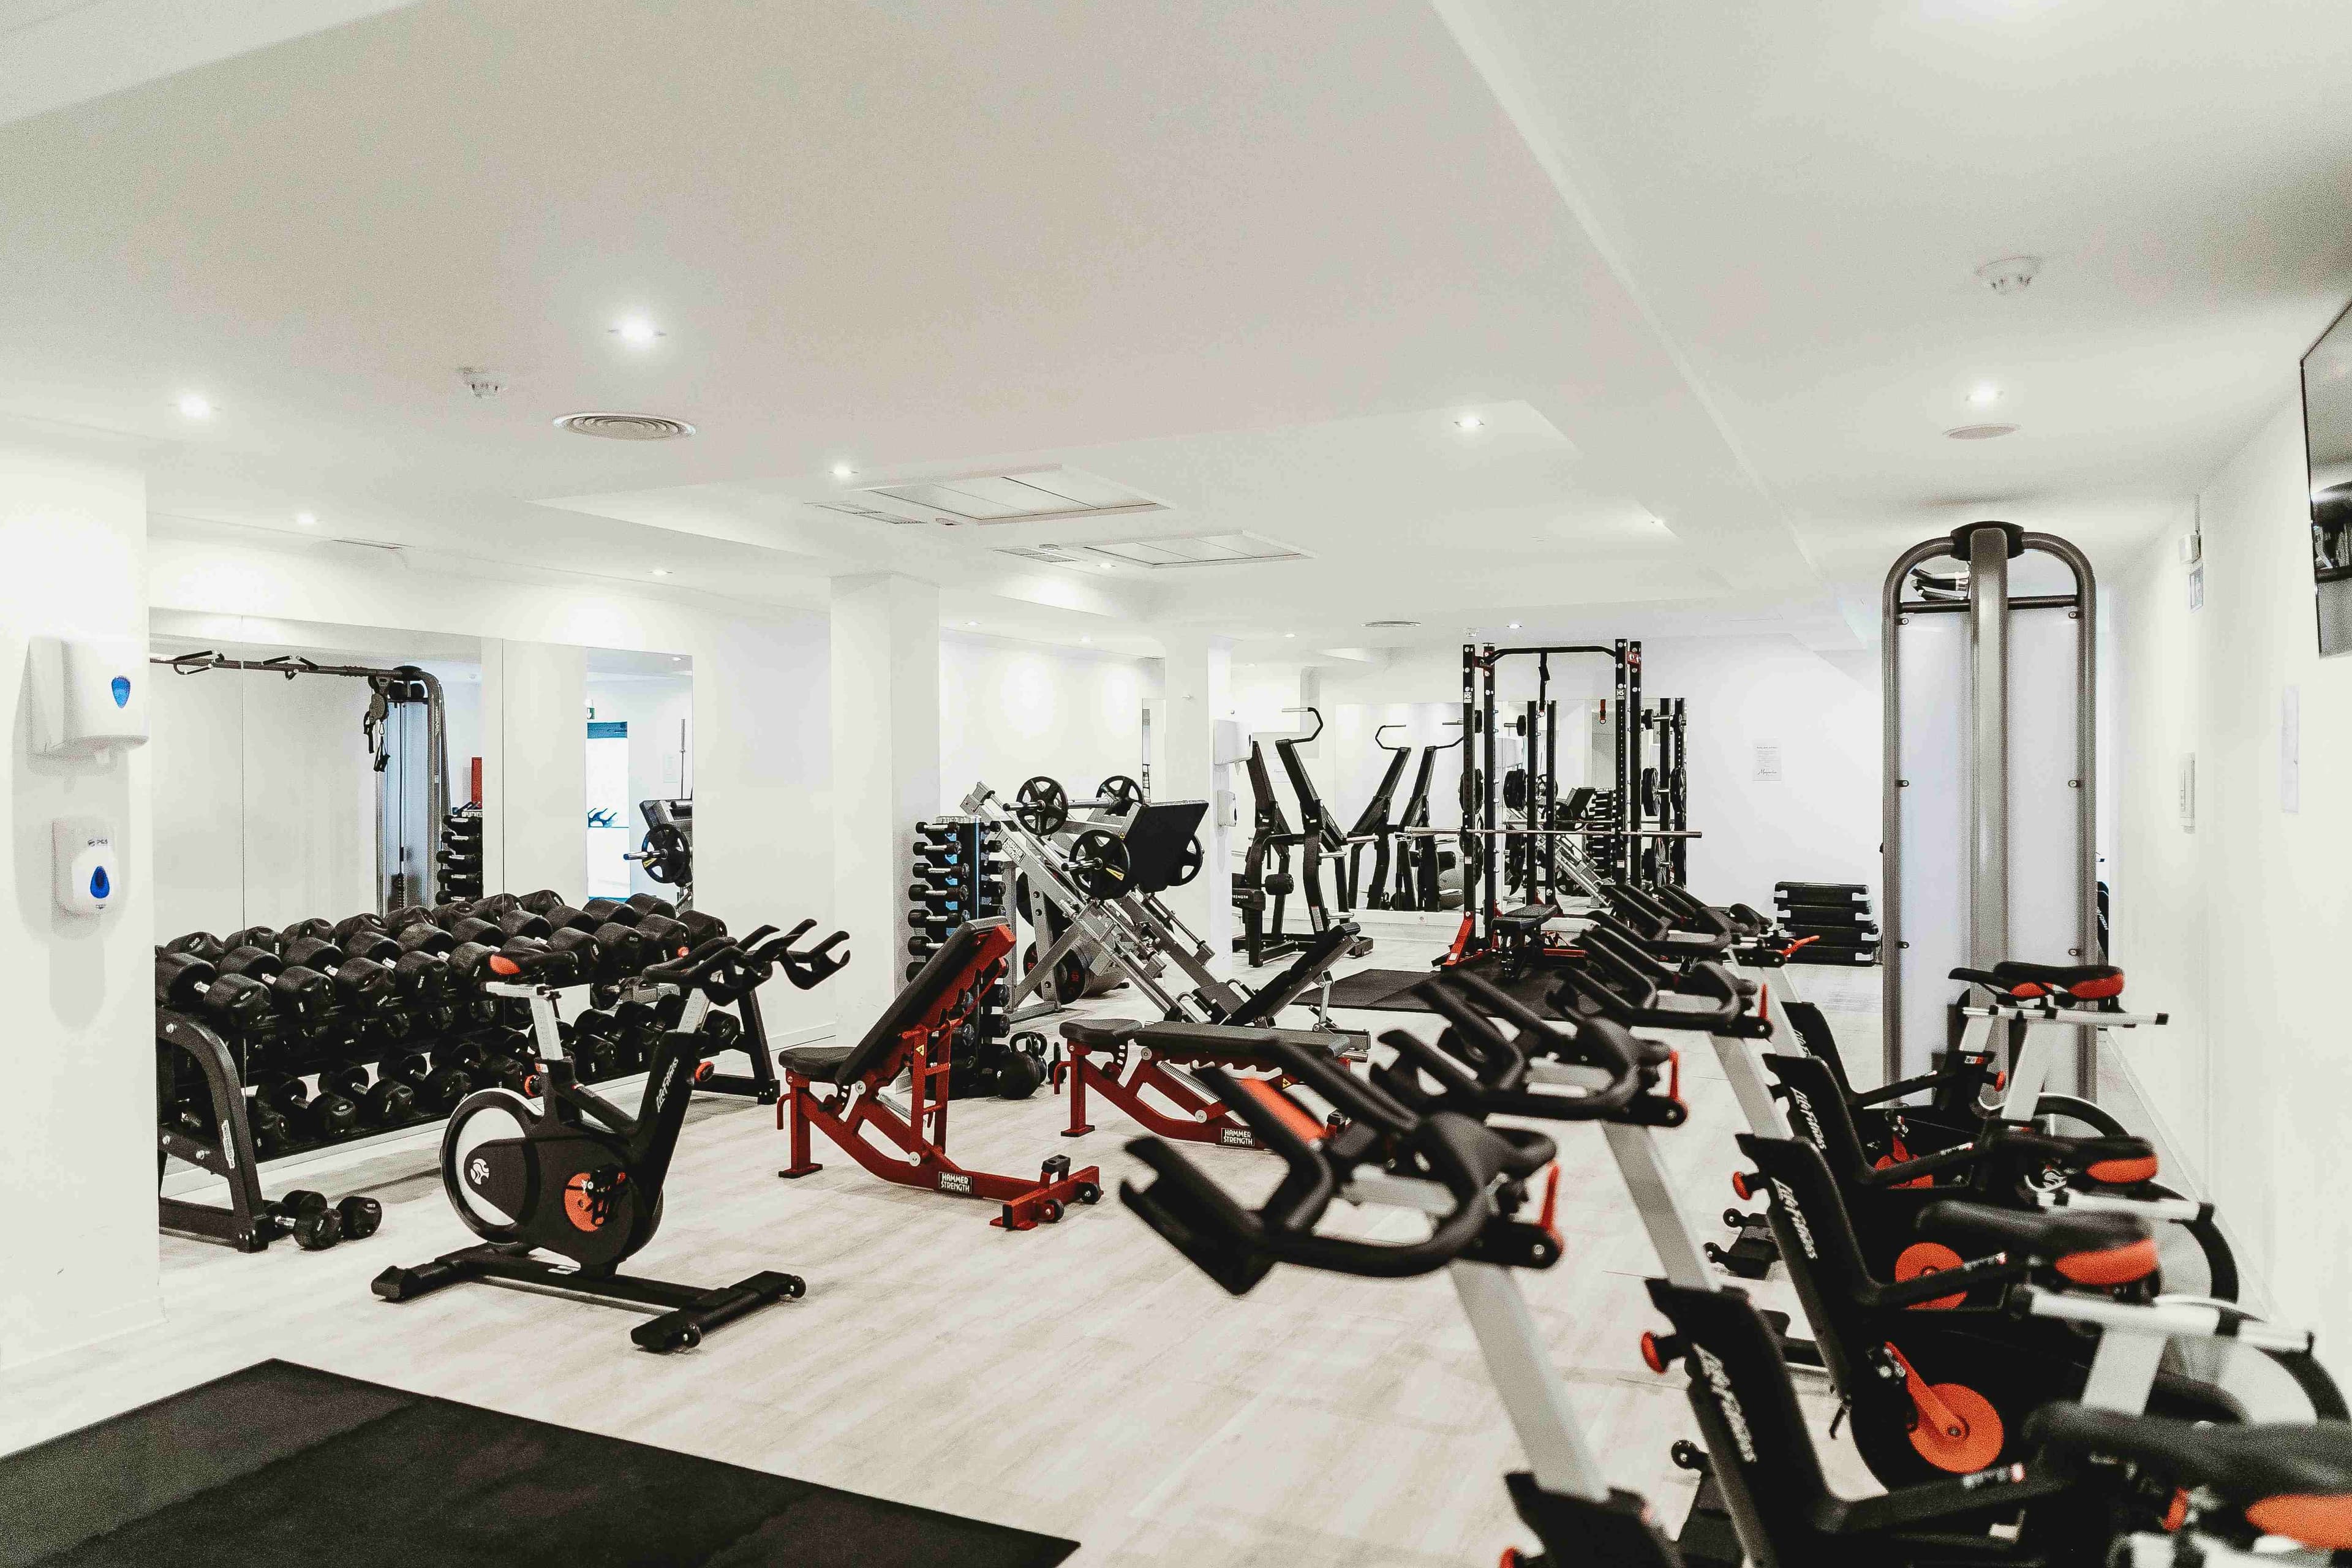
Zoning is the foundation of a floor that makes sense to a stranger. Group equipment by activity so members find everything for a given workout in one place rather than crisscrossing the room. The standard zones cover cardio, selectorized and plate-loaded strength, free weights, functional and open training, and a recovery or stretching area, with group studios walled off when you have them.
Placement follows a simple logic that doubles as flow. Put cardio near the front, where it warms up the entry view and lets members ease into a session, then move strength and free weights deeper into the room where heavier training belongs. Tuck the quieter recovery zone into a calmer corner away from the noise. Heavy equipment goes along walls or in a dedicated area, never scattered mid-floor where it blocks movement. The table below maps the core zones to where they usually work best.
Zone | Where it works | Why |
Cardio | Near the entrance | Warms up the entry view and eases members in |
Selectorized strength | Mid-floor, visible | Approachable for beginners, keeps energy central |
Free weights and plate-loaded | Along walls or rear | Contains noise, gives lifters their own space |
Functional and open training | A defined open zone | Needs clear floor; reads as modern and social |
Recovery and stretching | A quiet corner | Calm space draws members who avoid the weights |
Group studio | Enclosed room | Controls noise and music, protects the main floor |
Design Flow as a Path That Sells
Once the zones are set, the routes between them decide whether the floor feels effortless or chaotic. The strongest layouts use a looped, broadly one-way circulation path that carries members around the floor with no dead ends or midfloor crossings. A loop cuts collisions and lets staff watch several zones from one spot. It also nudges members past areas they might otherwise skip, which lifts engagement with more of your equipment.
That same path is your tour route. A well-planned circulation loop lets a salesperson walk a prospect through the space in sequence: warm up at the front, then move through strength toward the recovery corner. When the floor is easy to follow rather than confusing, the tour sells itself, because the prospect can already picture their own workout. A confusing floor forces the salesperson to explain it, whereas a clear one carries the prospect through on its own. Keep main walkways open and unobstructed, and protect the sightlines that let both staff and prospects take in the room at a glance.
Clearances and Capacity Planning
Comfort and safety come down to numbers. Leave at least 3 feet of clearance around equipment, and more around machines with a wide range of motion or heavy traffic, so users never knock into each other. Keep main walkways at 3 to 4 feet minimum, wider on the busiest routes. These gaps are the difference between a floor that feels open and one that feels cramped, and cramped is what prospects remember.
Size capacity around peak concurrent use rather than total membership. A club with 1,000 members might see only a few dozen on the floor at once, so design the zones and walkways for that busy evening hour rather than a theoretical full house. Resist the urge to judge a gym by equipment count. More machines in the same room means tighter spacing and worse flow, which weakens the experience, so a thoughtfully zoned floor with room to move consistently outperforms a crowded one. Open space for functional and bodyweight work earns its keep.
The Atmosphere Members Feel
The fittings around the equipment shape both the tour and the daily experience, and they are easy to underspend on. Layered lighting does the most work: bright, even ambient light for safety and task lighting in the training zones, with accent lighting for character, all while controlling the glare that causes visual fatigue. A dim or harshly lit floor undercuts even great equipment.
Flooring carries weight too. Slip-resistant rubber in strength and high-traffic areas improves traction and signals quality, while protecting the floor structure, and softer surfaces suit stretching zones. Sound and air round out the picture. Acoustic treatment keeps a busy floor from feeling stressful, and strong ventilation stops the stale, stuffy air that forms fast in a high-intensity room and sends prospects back out the door. None of these show up on an equipment list, yet members feel all of them on every visit.
Build In Safety and Accessibility
A layout that converts also has to be safe and compliant, and the two rarely conflict. Keep emergency exits visible and unobstructed at all times, and never let equipment block an egress path. Add emergency lighting near exits and busy zones. Generous clearances do double duty here, since the same spacing that feels open also lowers injury risk during peak hours.
Accessibility is both a legal duty and a wider market. Design accessible routes through the floor and adequate clearances at equipment so members using a wheelchair or mobility aid can navigate and train, and confirm that doorways and turning space meet the requirements that apply, restroom access included. Because codes vary by jurisdiction, validate your final plan with a local authority or a design professional rather than relying on rules of thumb. An accessible gym reaches a wider market, and the requirements are worth meeting for that reason alone.
Common Layout Mistakes That Cost You Members
Most poor floor plans repeat the same avoidable errors. Spotting them on paper is far cheaper than discovering them once the equipment is bolted down.
Cramming in equipment: tight spacing wrecks flow and comfort, and the extra machines rarely earn back the lost experience.
Dead ends and crossings: routes that stop short or force members across active zones create bottlenecks and collisions at peak hours.
A weak entry view: leading with a cluttered or empty-looking zone wastes the most persuasive seconds of the whole tour.
Heavy or loud equipment up front: dropped plates and grunting near reception put off the beginners who are hardest to convert.
Designing for total membership: planning around the full roster rather than peak concurrent users leaves the floor jammed when it matters most.
Hiding or barricading reception: a desk that blocks the path, or no clear arrival point, stalls the prospect before the tour even starts.
A Simple Process for Planning Your Layout
You do not need expensive software to plan well; you need to plan in the right order. The sequence below keeps you from locking in costly mistakes.
Gather your inputs: note the fixed elements you cannot move, like columns, plumbing, power, and entrances, plus your target audience and expected peak demand.
Sketch zones first: use a rough bubble diagram to position zones and their adjacencies before you draw a single wall or machine.
Draw it in 2D: place equipment at code-compliant clearances and confirm that the walkways and circulation work on paper, capacity included.
Visualize in 3D if you can: a 3D view helps you and any stakeholders feel how the space reads, especially the all-important entry sightline.
Validate against reality: check egress and accessibility, plus peak-hour flow, ideally with a design professional, before anything gets installed.
Sourcing equipment from a coordinated product line helps the finished floor read as one intentional space rather than a patchwork, which strengthens both the entry view and the sense of quality that supports your pricing.
Putting It All Together
A gym floor layout that converts is designed backward from how people experience it rather than forward from how much equipment you own. Lead with a first impression that sells, zone the floor so it makes instant sense, route a flow that doubles as a tour, hold the clearances that keep it open and safe, and dial in the lighting and flooring so every visit feels good. Each decision compounds across the funnel, shaping both the tour and the renewal that follows.
Plan it in the right order, validate it before you build, and your floor stops being a room full of machines and starts working as a sales tool. The equipment matters, of course, but the way you arrange it is what turns space into sign-ups.
Frequently Asked Questions
How does gym layout affect membership sales?
Strongly. Prospects decide whether to join within minutes of walking in, largely on first impressions they sense rather than facts they are told. A layout that opens with clean, impressive equipment and routes a clear tour path lets the space sell itself, while a cramped or confusing floor undercuts even a skilled salesperson.
How much clearance should there be between gym equipment?
Aim for at least 3 feet of clearance around equipment, with more around machines that have a wide range of motion or sit in high-traffic spots. Keep main walkways at a minimum of 3 to 4 feet, wider on the busiest routes. These clearances keep the floor safe, comfortable, and open, which is the impression that converts prospects.
What zones should a gym floor have?
Most gyms benefit from distinct zones for cardio, selectorized and plate-loaded strength, free weights, functional or open training, and recovery or stretching, plus an enclosed studio for group classes where space allows. Grouping equipment by activity helps members find everything for a workout in one place and makes the floor intuitive to navigate.
Where should cardio equipment go in a gym?
Cardio usually works best near the entrance. It warms up the entry view with visible activity and lets members ease into a session before moving to heavier work deeper in the room. The welcoming, low-intimidation equipment then stays in the first-contact zone, while louder training sits further back, along walls or in dedicated areas.
Should I plan capacity around total members or peak usage?
Plan around peak concurrent usage rather than total membership. Only a fraction of members are ever on the floor at once, so designing zones and walkways for the busiest hour prevents the bottlenecks that frustrate members and drive cancellations, without forcing you to oversize the whole facility for a head count that never shows up together.
Trending Now

25 Best Functional Trainer Exercises for a Full-Body Workout
Functional Trainer Leg Exercises: The Complete Guide
Beginner Cable Machine Workout Plan: 8 Weeks
Newsletter
Enter your email and be the first to get the latest blog posts, news, product launches and more from BodyKore.

Stay in the Know
Enter your email and be the first to get the latest blog posts, news, product launches and more from BodyKore.